Picture 1 of 13


Gallery
Picture 1 of 13


-
mimpi garis 2 - mimpi membangun rumah menurut islam - arti mimpi ketemu ular besar - mimpi melihat orang digigit ular di tangan - arti mimpi nemu uang banyak - mimpi melihat pelangi menurut islam - mimpi melihat orang tenggelam menurut islam - doa agar mimpi indah - mimpi main bola - mimpi rambut dipotong pendek oleh orang lain - mimpi kebakaran togel - mimpi membunuh kucing - mimpi rumah banjir air kotor - mimpi melihat anak kucing banyak - buku mimpi 08
IDR 25,000.00 with coupon code
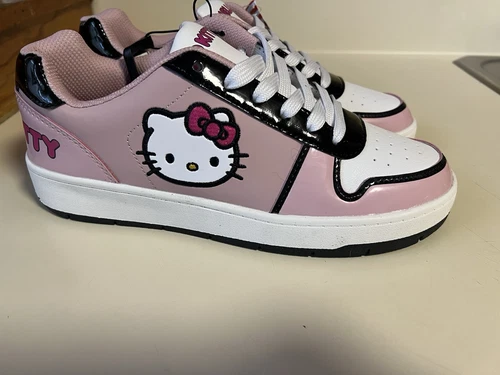
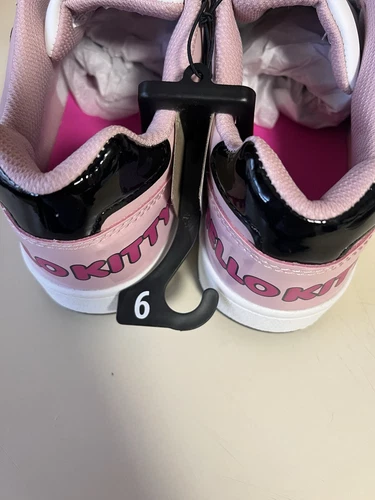
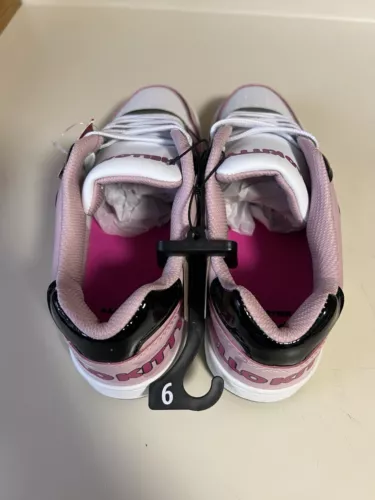
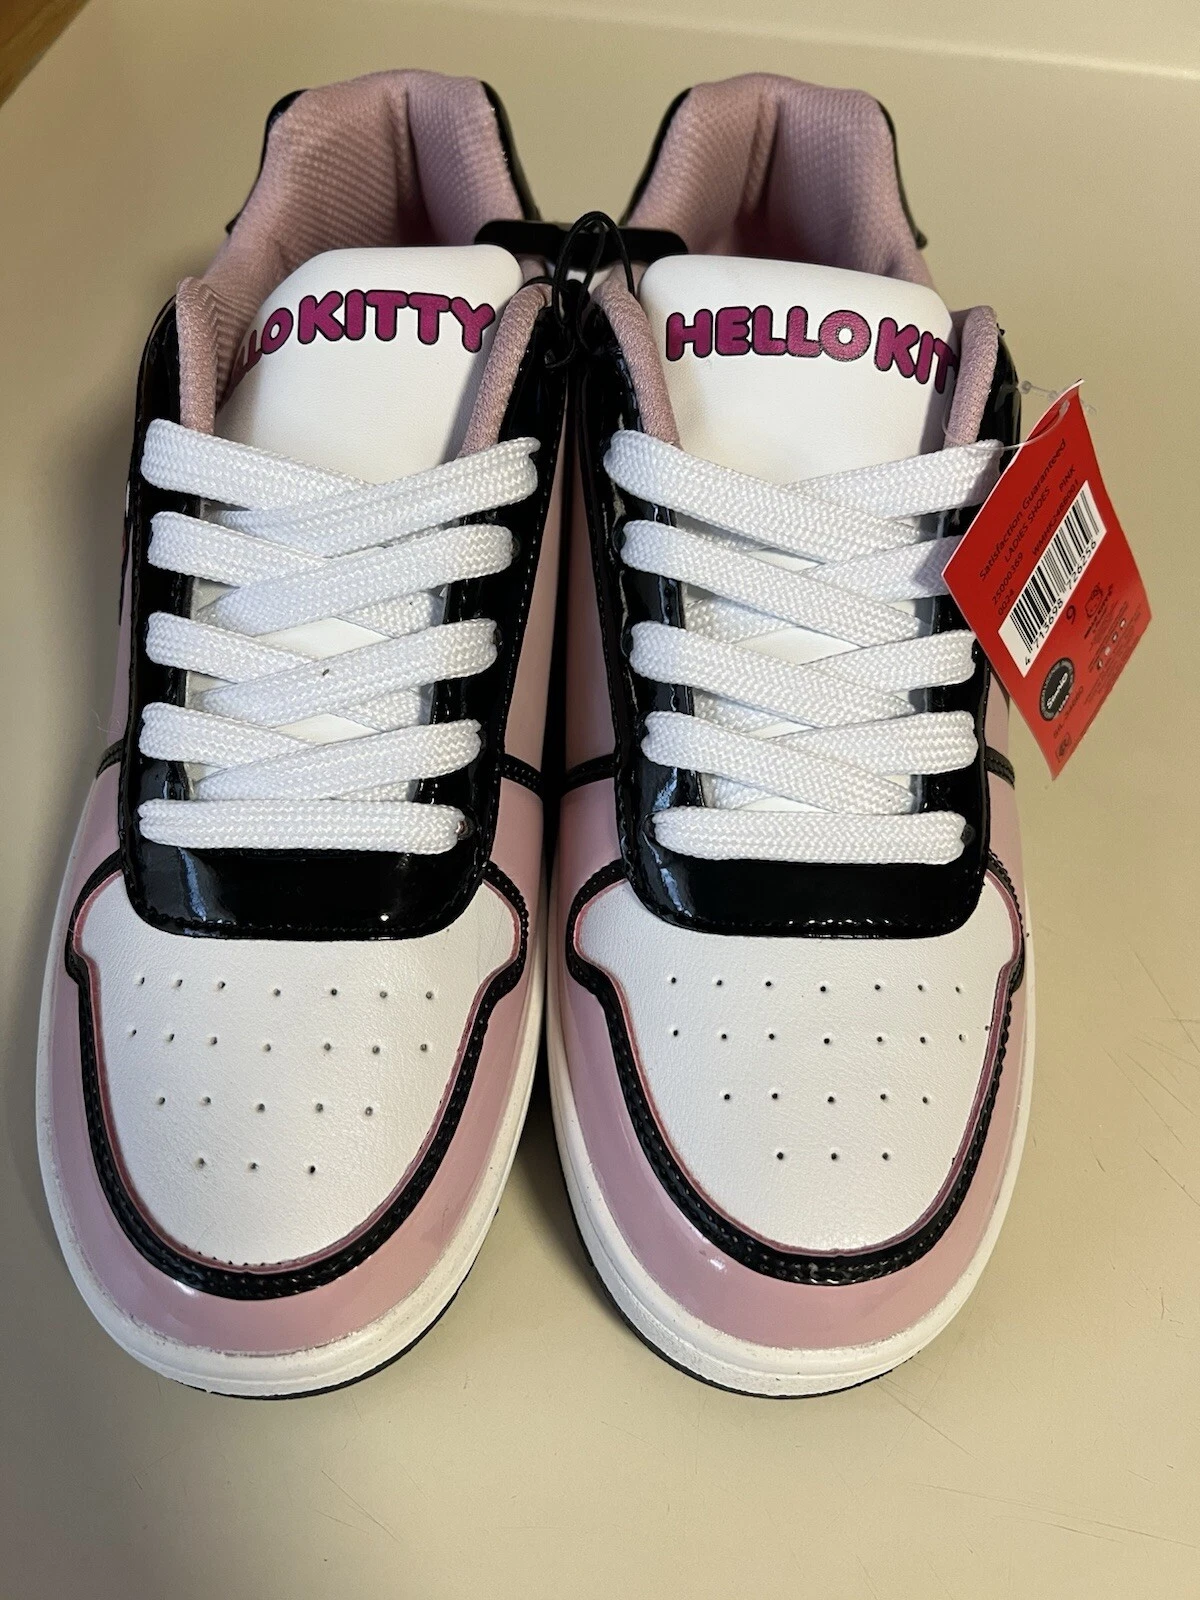
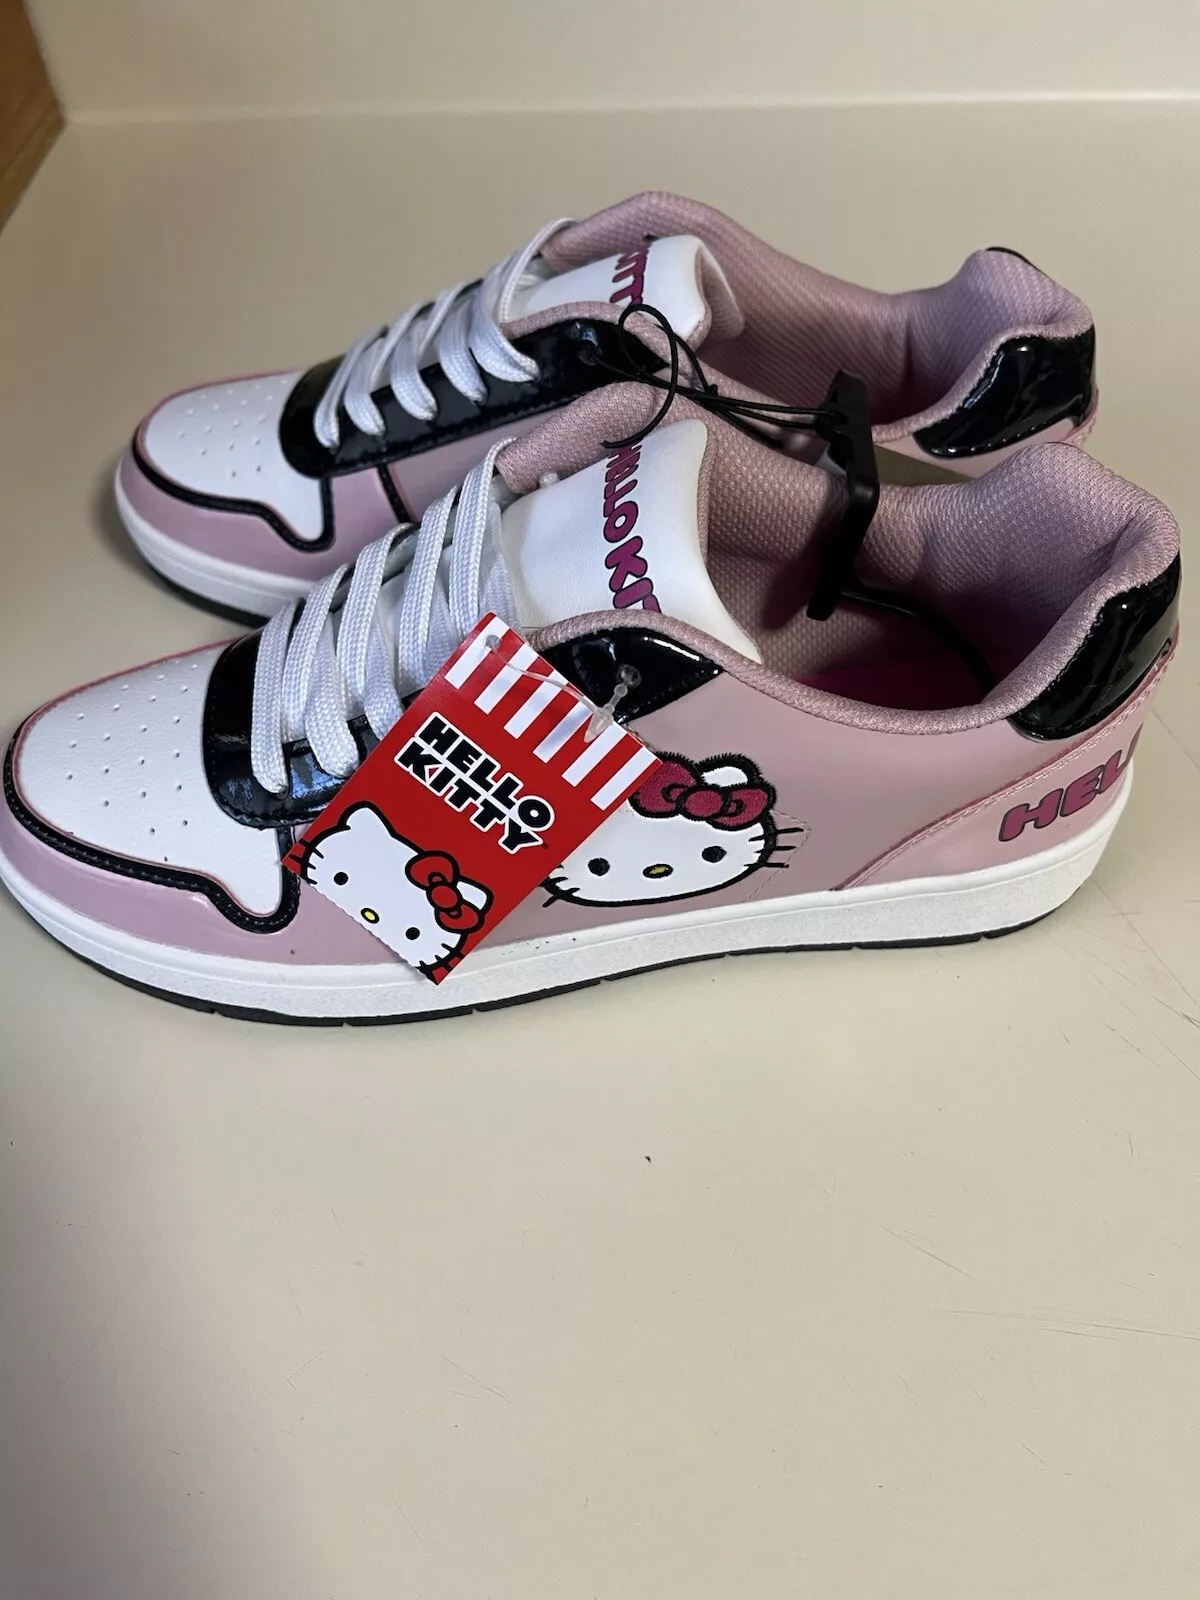
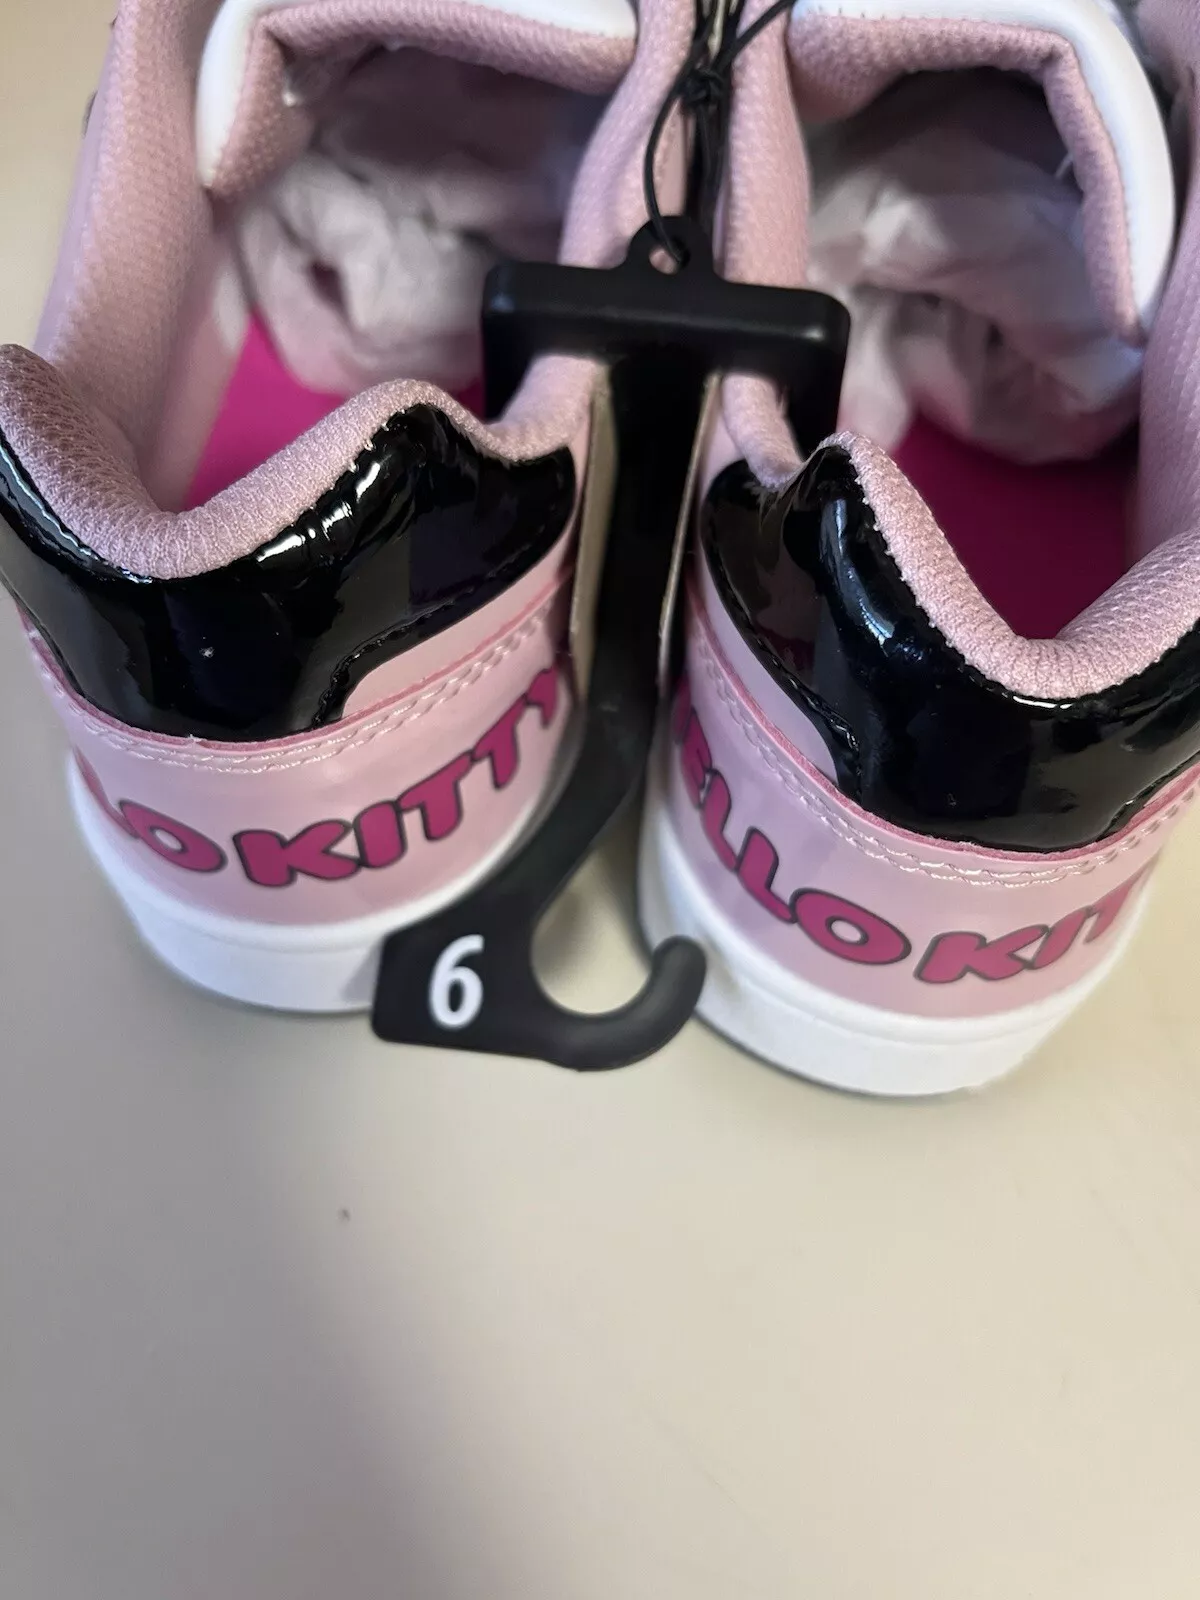
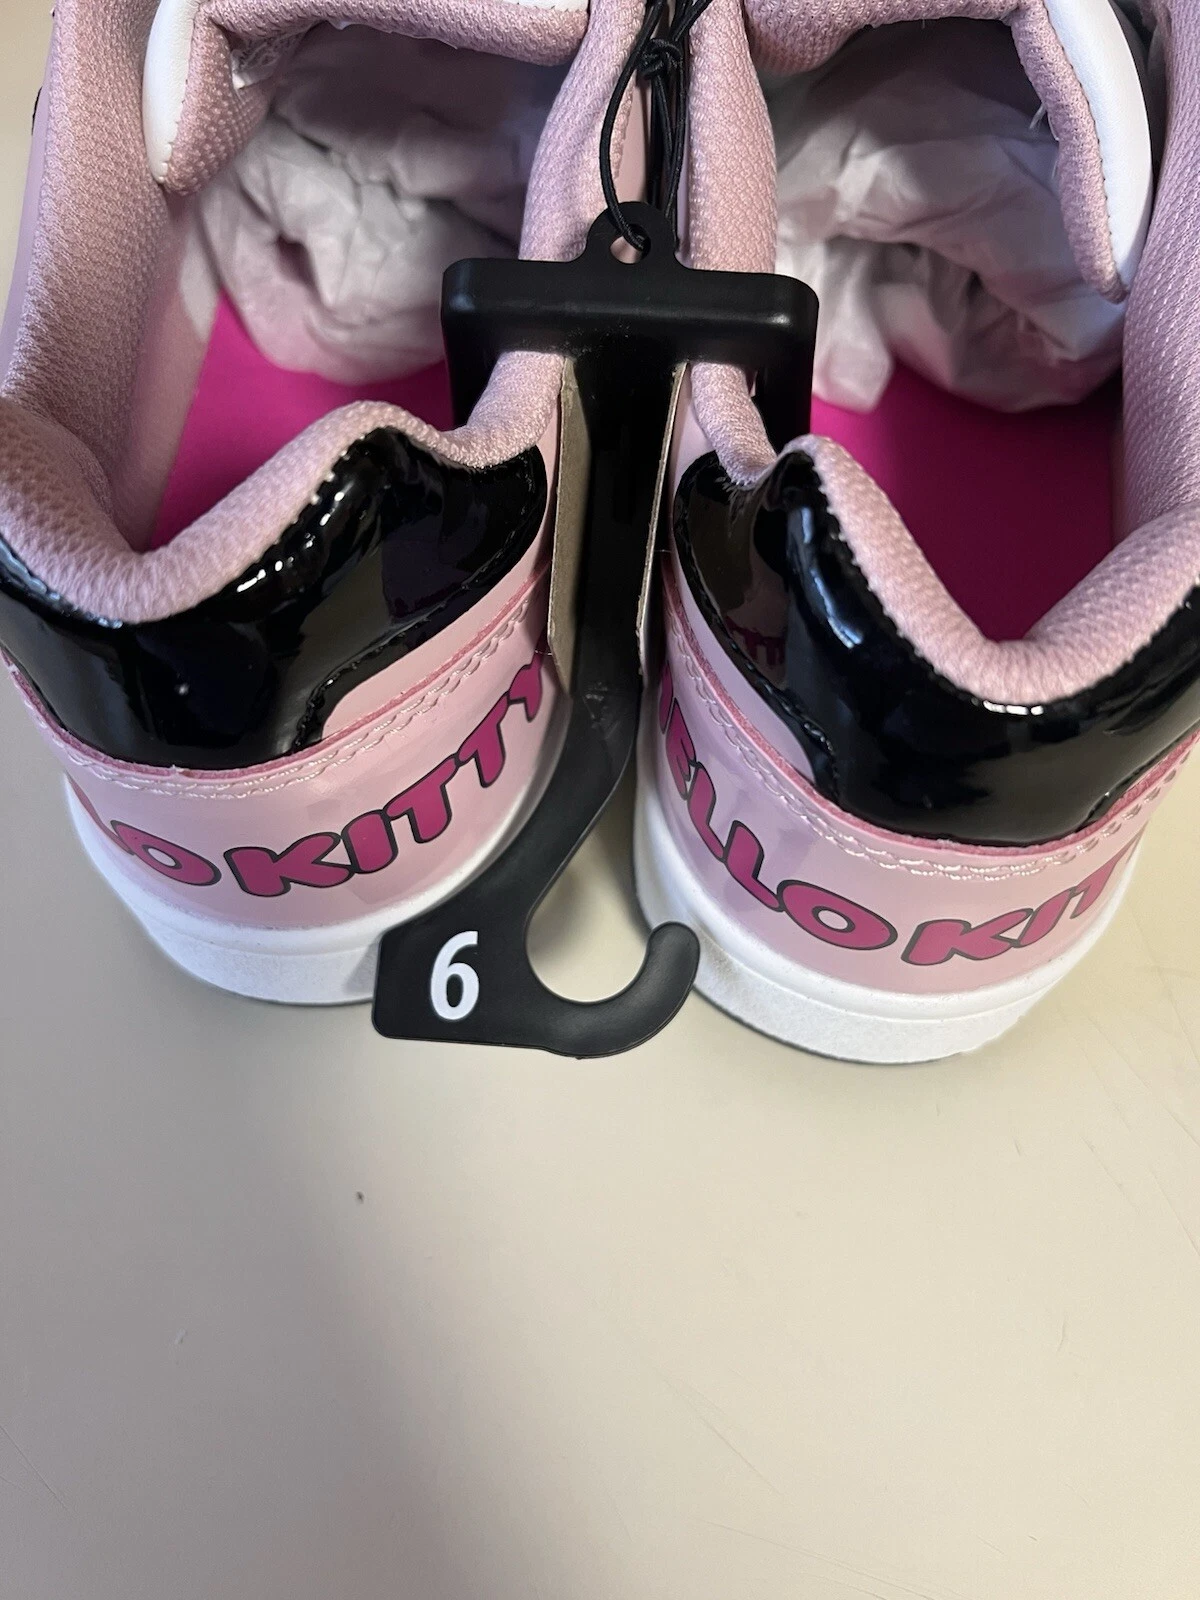
Condition:
New with box
A brand-new, unused, and unworn item (including handmade items) in the original packaging (such as the original box or bag) and/or with the original tags attached.
10 available